DuckBootGarden

Sustainable and Wild Foods advice

October 25, 2015
by jhtalmadge
0 comments

Jujube

IMG_0149

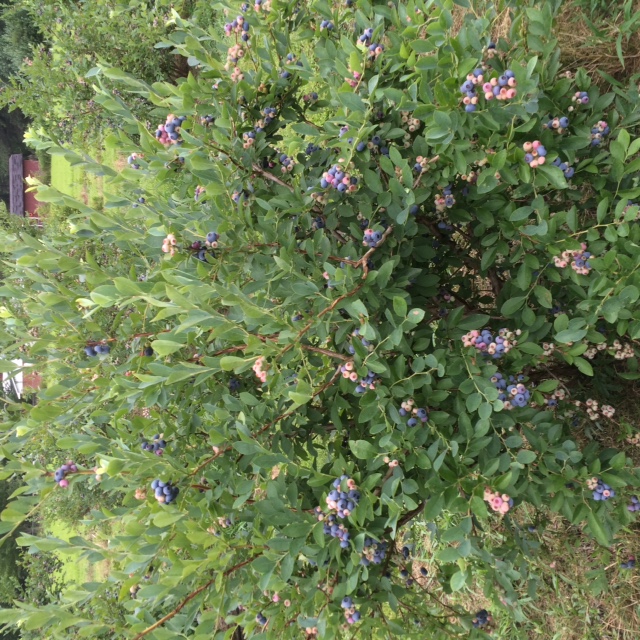
Green fruit in a ‘Li’ Jujube


IMG_0152

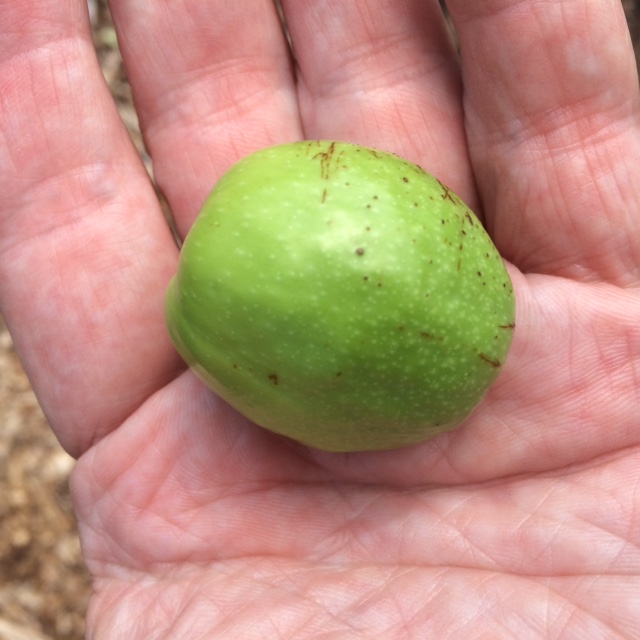
A unripened ‘Li’ Jujube


IMG_0371

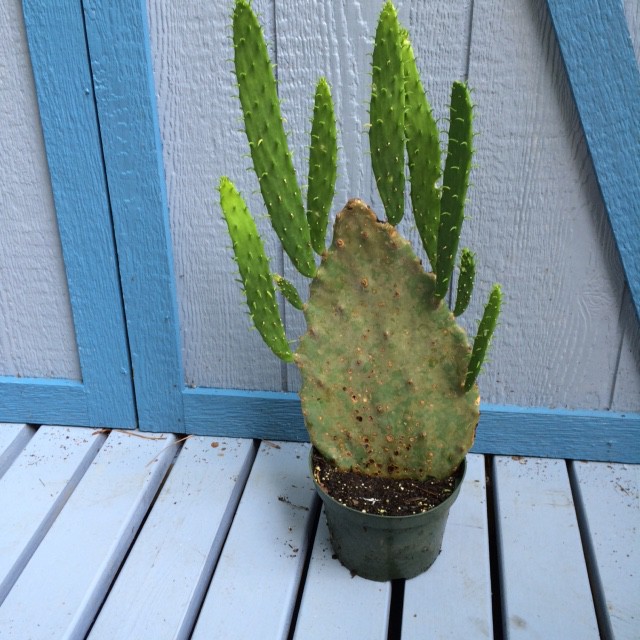
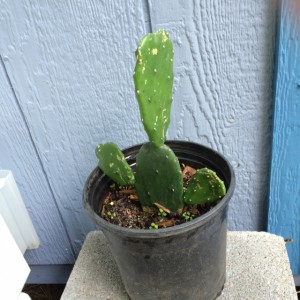
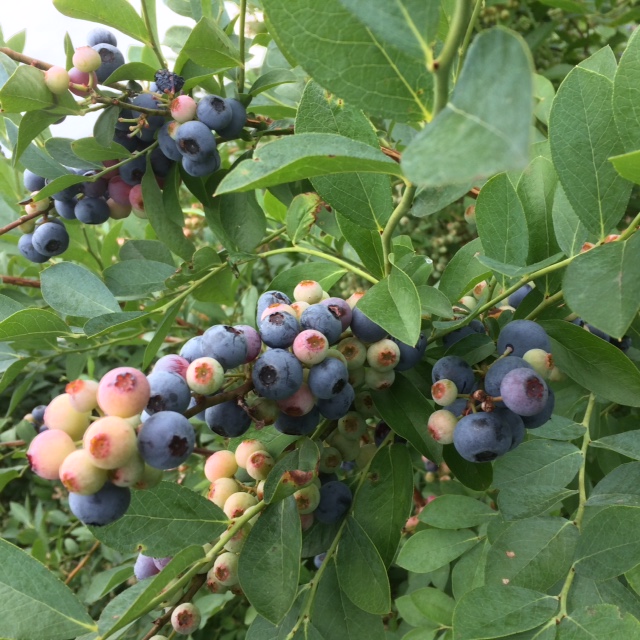
A branch of a ‘Sugar Cane’ Jujube


IMG_0351

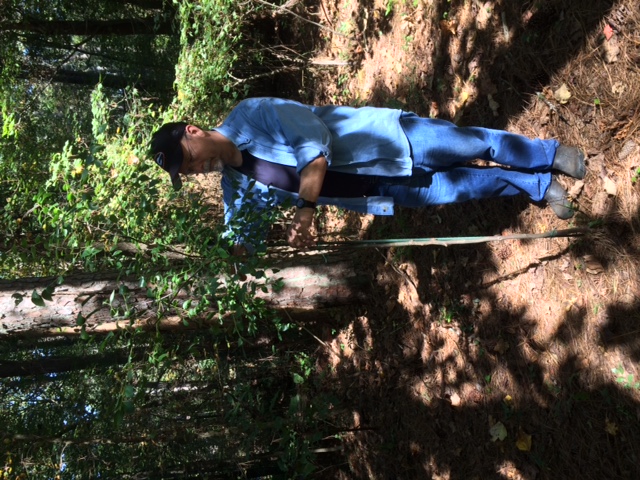
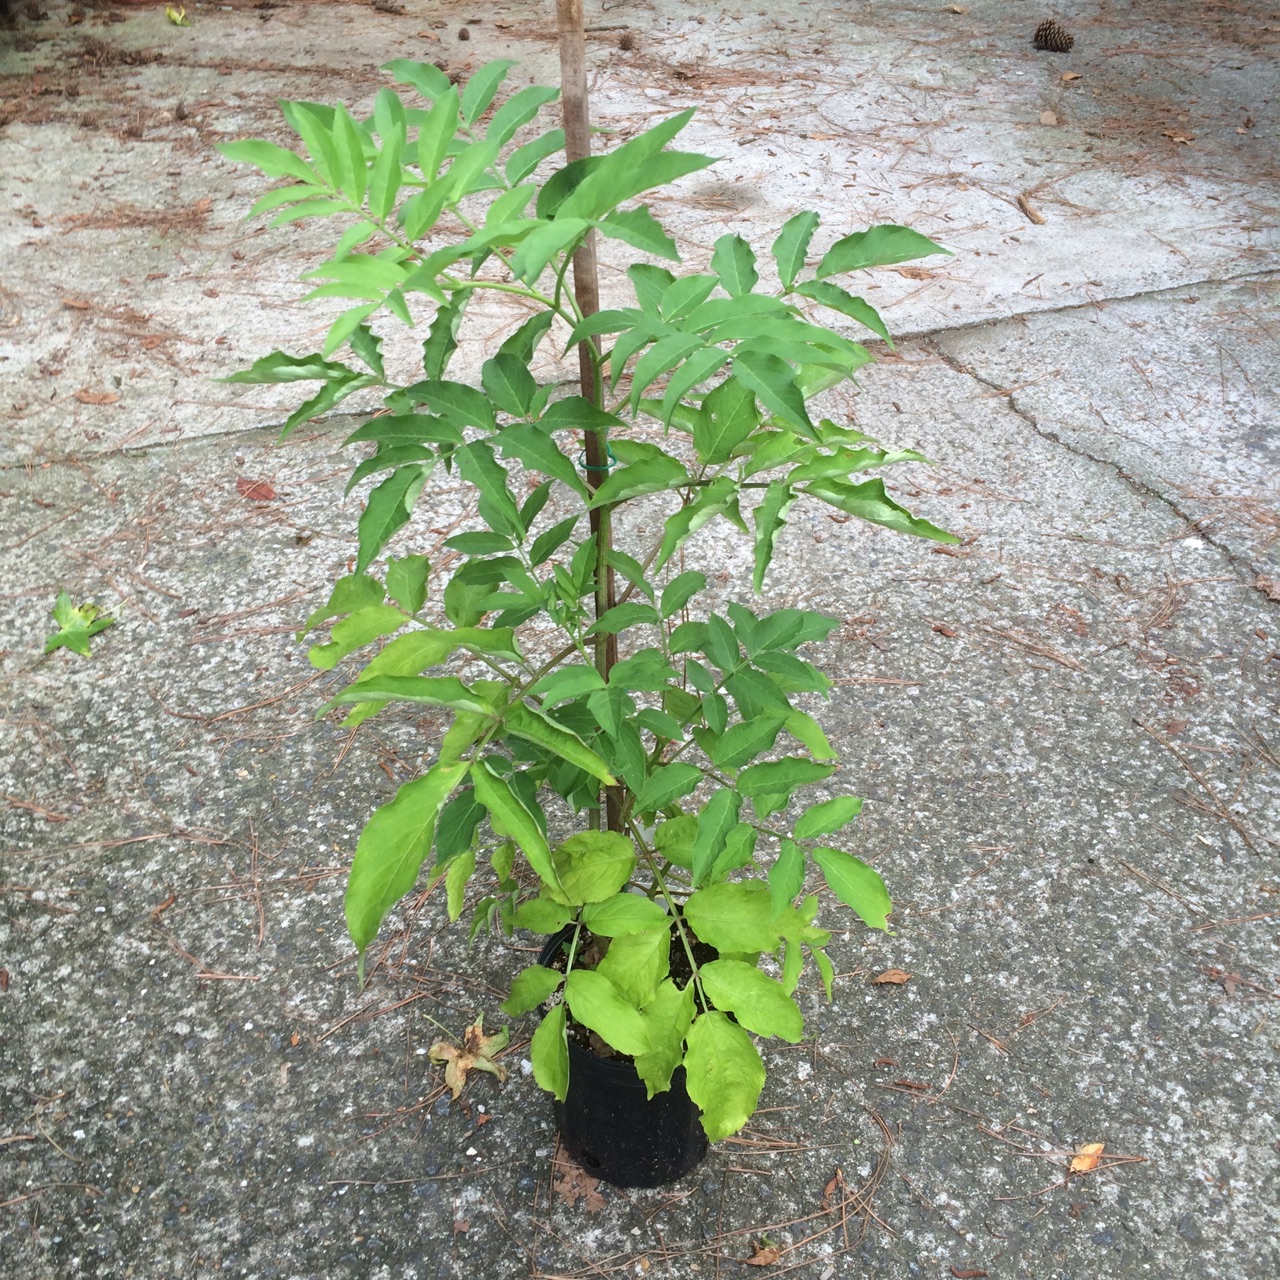
Staking a young ‘Sugar Cane’ Jujube


Jujube

Zizyphus jujuba

Jujube (Zizyphus jujube), a native to east India, was brought to China and domesticated over 4,000 years ago and it was first carried to America in 1837.  Today it is cultivated around the world from China to the Middle East on to North and South America. It is a very long lived member of the Rhamnaceae or Buckhorn family. There are productive trees in China that are over 1,000 years old. It has several common names such as Chinese Date and Red Date, it got these names because once the fruit starts to dry and wrinkle it resembles a date.

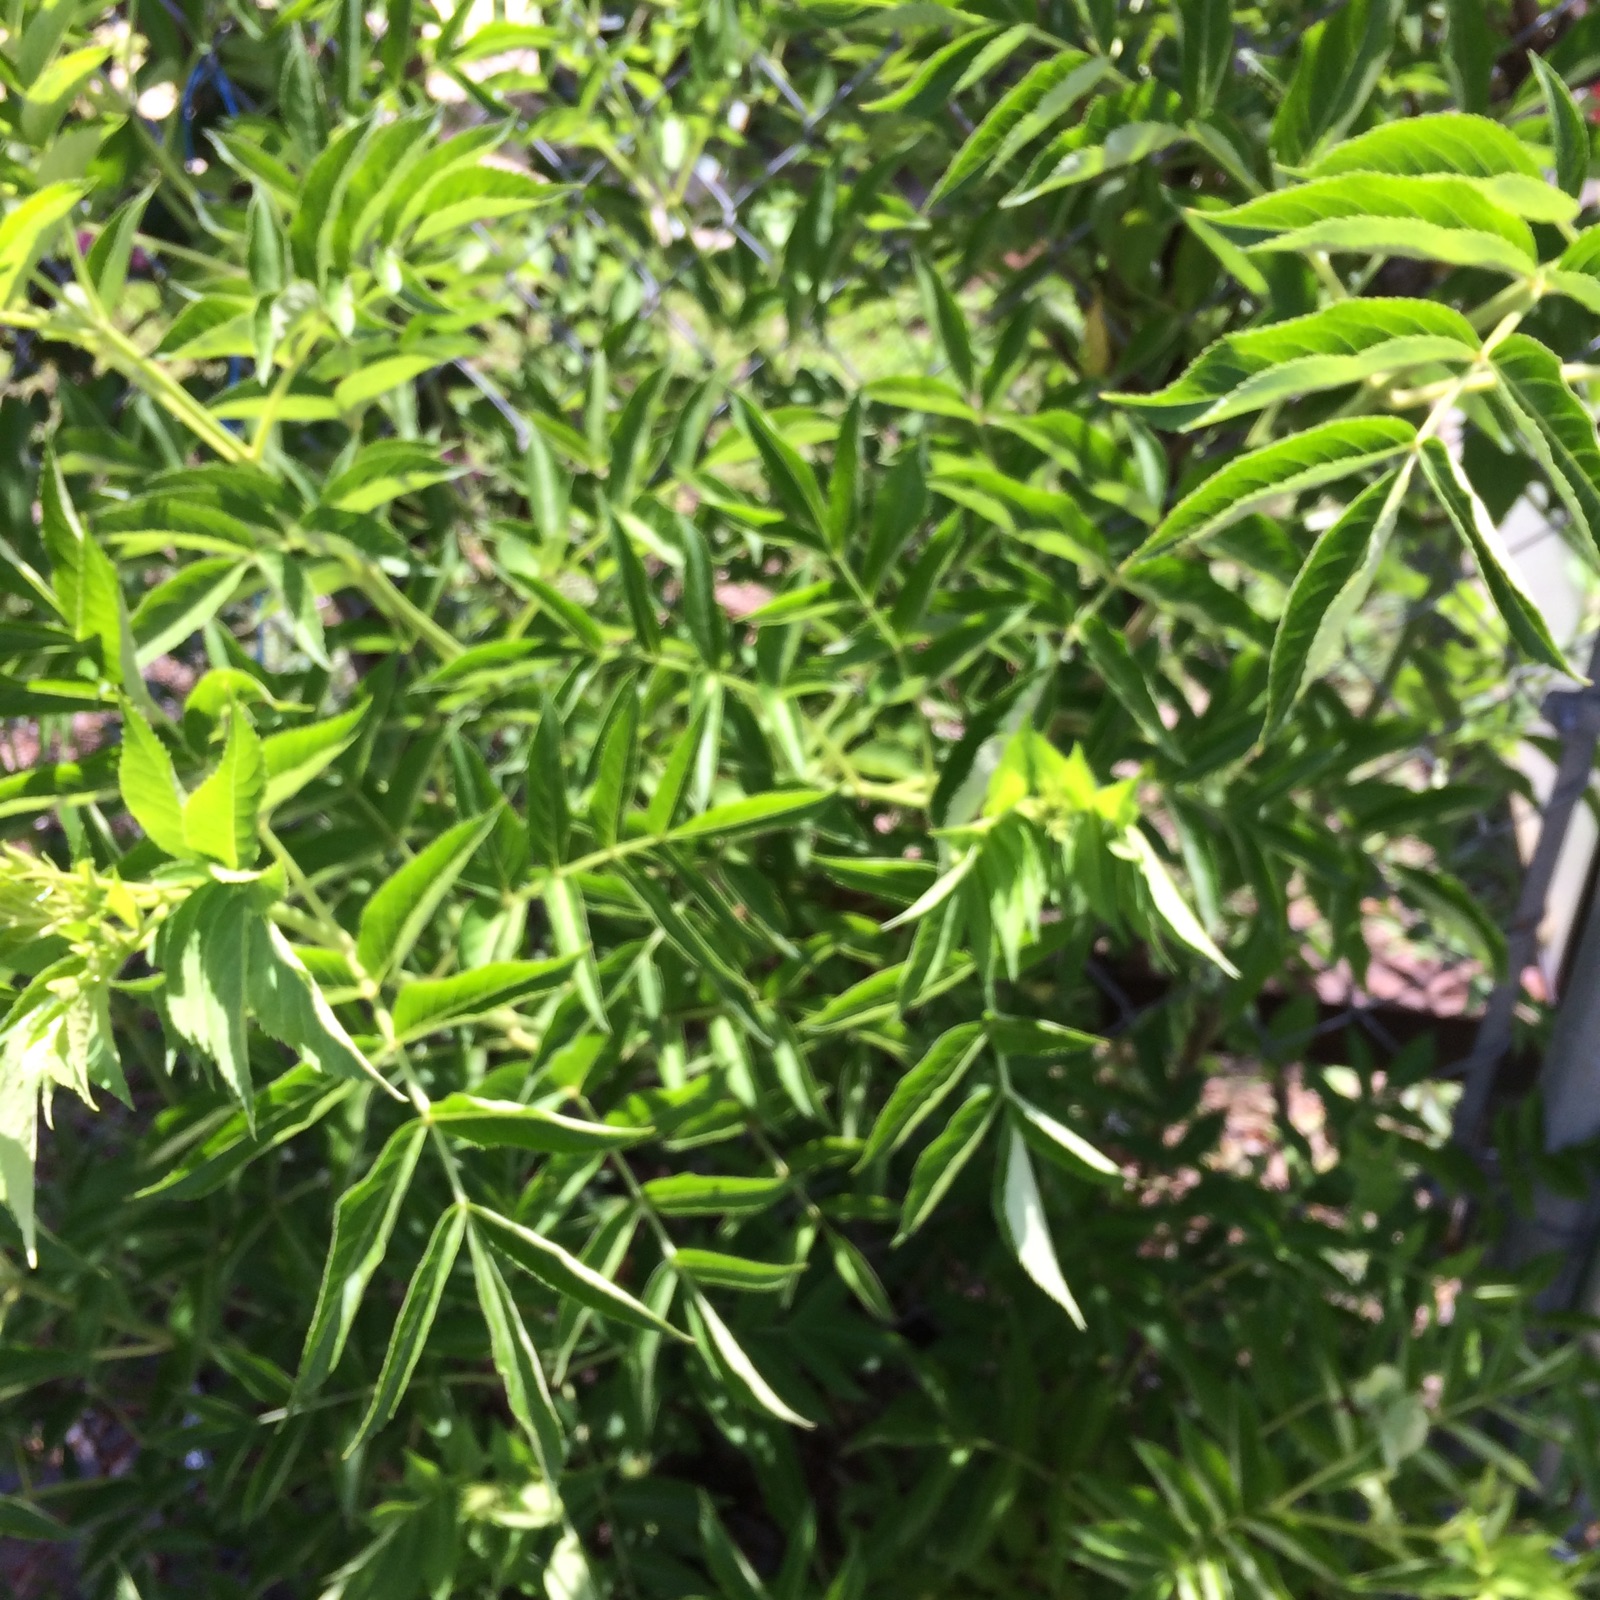
The jujube is a small deciduous shrubby tree with an upright trunk and short angled drooping branches that grow in a zig-zag pattern. They grow to a mature height of 20 to 40 feet tall and 10 to 15 feet wide. Their small ovate leaves are shiny, waxy, dark green on top and fuzzy on the lower side. Each 1 to 2 inch finely toothed leaf has three prominent veins and two thorns at the base. The tiny 1/5th inch greenish-yellow blooms appear in clusters late April to early May.

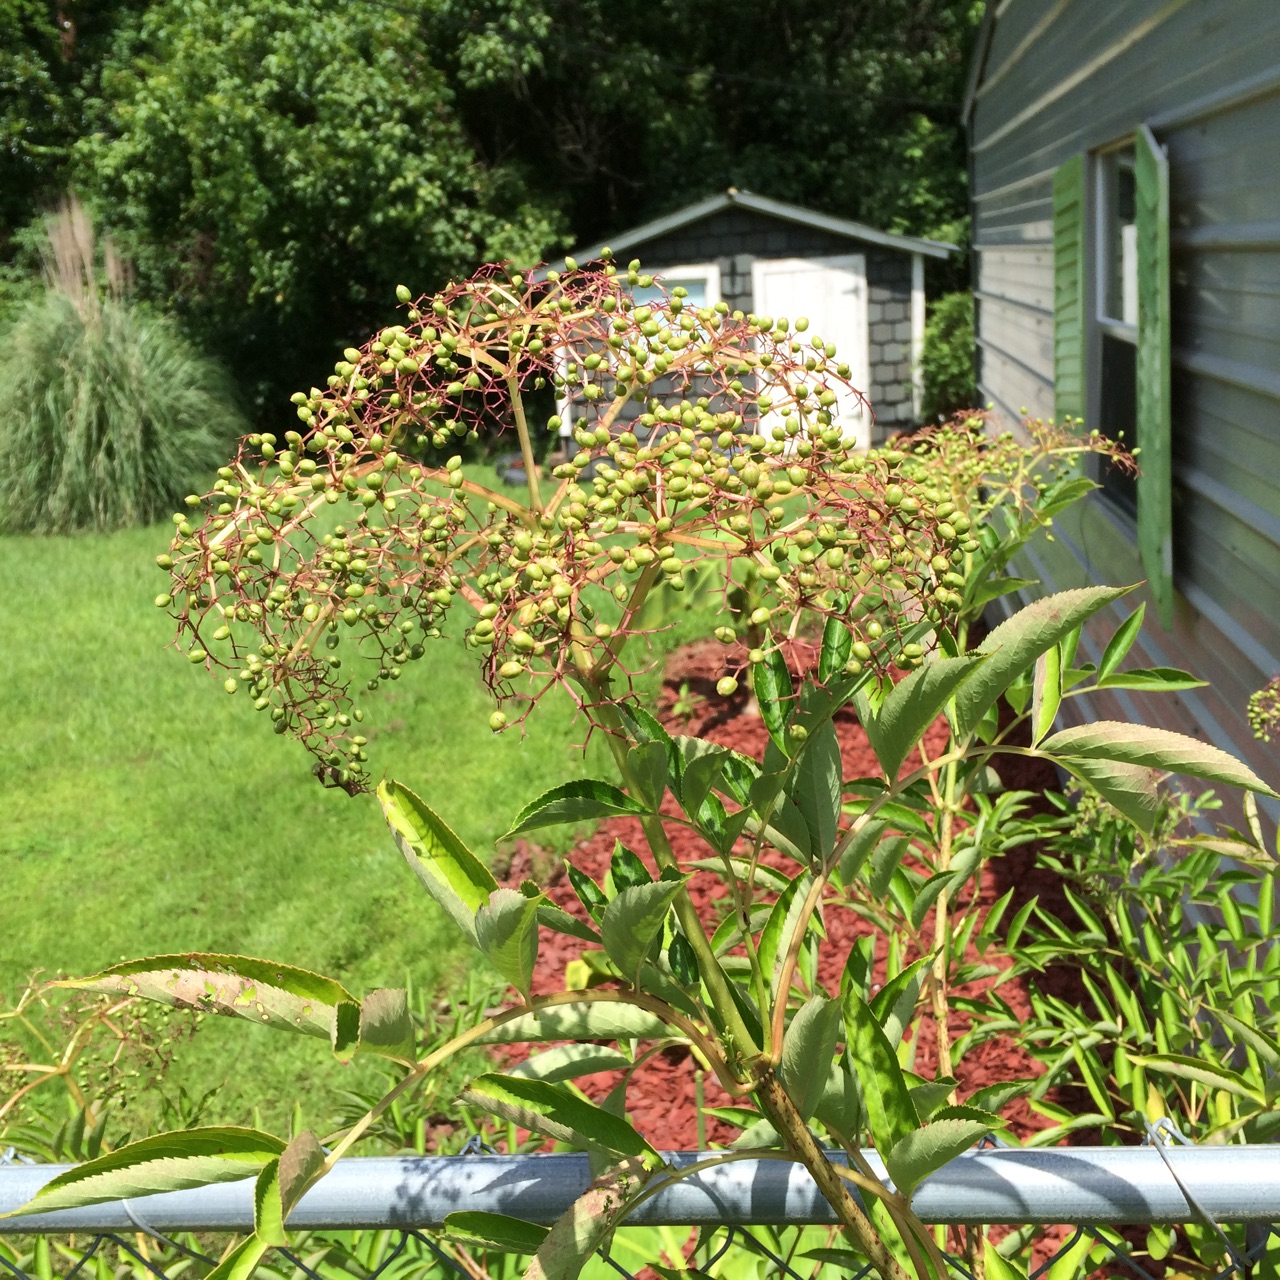
The fruit of older common varieties are as small as ½ inch whereas the newer improved varieties are as large as 2 inches in diameter. Fruit are shiny and resemble a miniature reddish-brown apple when ripe. The fruit ripen in three stages, maturing in July and August.  First, they turn light green then yellow-green, and mature into a reddish-brown color when they start to wrinkle. Also, the fruit have a crisp sweet semi-acidic pulp similar to an apple. Each fruit has a single hard stone with two seeds inside.

The jujube is well adapted to virtually all soil types from sandy and clay soils to even rocky soils, but they prefer a well-drained loamy soil. Also, these trees will withstand a wide range of soil pH, but can exhibit nutrient deficiencies at an extremely alkaline pH above 7.8. Jujubes can also grow in soils with high salinity. These trees are very tough and will survive in soils where other trees would perish.

The mature jujube tree can tolerate a wide range of temperatures (Zone 5-9); winter temperatures as low as -28 degrees F without any ill effects and no summer temperature seems to be too high. They also endure drought, and excess moisture better than most other trees. However, the jujube is best adapted to arid climates since they prefer it hot and dry. Once established, they can survive on as little as 8 inches of rainfall per year, but for good fruit production, they need 20 inches or more of rain. One thing they don’t cope with well is deep shade.

Many growers consider jujubes to be one of the easiest and most resilient trees to grow. They are also early to bear fruit, sometimes in the first year but usually set a good crop by the third season. These durable trees seem to do well with little or no fertilization. If they do need a little nitrogen, a good composting once in early spring is adequate. In a commercial orchard setting, a light broadcast application of a balanced fertilizer like an 8-8-8 or 10-10-10 NPK every third month during the growing season is beneficial. However, don’t fertilize newly planted trees until they have had several months to establish.

Jujubes don’t necessarily need to be pruned to produce well, but extensive winter pruning can form a more compact tree with fruit that is easier to reach. Pruning may also need to be done to remove broken or dead limbs and suckers that come up at the base of the tree.

Most cultivars being grown in the U.S. are grafted or budded on to a common hardy rootstock. Jujubes may also be propagated by seed, although they do not breed true to variety. The seeds must be scarified by rubbing them on sandpaper and then soaking them in warm water overnight to prepare them for planting in small peat pots. The next step is to give the seeds a three month moist chilling period either by keeping them in a refrigerator or by letting them over-winter outdoors. Once the seedlings are up and well rooted, move them to a one gallon pot. After a year, transplant them to a three gallon pot and then after another year plant them in the ground.

Jujubes have no serious disease, insect or nematode problems in North America, hence they don’t require spraying and can be easily grown organically. The only disease problem is witches broom virus, which is isolated in China and Korea. Animal pests such as deer, which eat the fruit, and gophers that eat the roots can be a minor problem. Also, birds sometimes peck the fruit.

The fruit crop doesn’t ripen all at once and can be picked for several weeks from the same tree. Green fruit will not continue to ripen if picked from the tree. Fully ripened fruit can be stored for up to a week at room temperature. If allowed to dry while on the tree, the fruit will store indefinitely even without use of a sulfur preservative. Although, there is a wide variety of ways to prepare jujube fruit such as smoked, pickled, candied, preserved in honey syrups, in jams and in soups or sauces; most cultures prefer to eat the fruit dried.

There are over 700 recognized varieties of jujubes in China and about 40 varieties that have been introduced in the United States. Most cultivars are best consumed either dried or fresh. ‘Chico’ and ‘Li’ are two varieties that are multi-purposed and are good eaten both fresh and dried. ‘Li’ is the most recommended as a first tree for beginners. ‘Lang’ and ‘Shanxi Li’ are best eaten dried. ‘Lang’ is the most widely grown cultivar in orchards and a heavy producer while ‘Shanxi Li’ has the largest fruit. ‘Sugar Cane’, ‘Honey Jar’ and ‘Sherwood’ are cultivars that are best for fresh eating. All three of these varieties are especially sweet.

Jujubes are rich in vitamins B1, B2, B3, B6, A and C. They also have minerals such as iron, calcium, phosphorus, potassium and potassium. Because of all these vitamins and minerals this fruit has numerous health benefits including fortifying the immune system, lessening skin irritations, wound healing properties, stress relief, as a sleep aid, and as a treatment for sore throat.

References and External Links:

  • Fruit & Nut Resources – Jujube, R. McEachern, Aggie Horticulture, Texas A&M, 1997. www.aggie-horticulture.tamu.edu/fruit-nut/fact-sheets/jujube.html.
  • Texas Gardener Magazine, Jujube-A Fruit Well Adapted to Texas, R. Ashton, 2008, www.texasgardener.com/pastissues/janfeb08/Jujube.html
  • Jujube, California Rare Fruit Growers, Inc., 1996,crfg.org/pubs/ff/jujube.html
  • Health Benefits of Jujube. Organic Information Services Pvt Ltd ,www.organicfacts.net/health-benefits/fruit/jujube.html


September 27, 2015
by jhtalmadge
0 comments

American Pawpaw

American Pawpaw

Asimina Triloba

This native to North America and only cold hardy member of the custard apple family, Annonaceae, which includes the papaya and the cherimoya, was first written about by De Soto in 1541. The pawpaw was also mentioned in the chronicles of Lewis and Clarke. Thomas Jefferson thought so much of the pawpaw he planted it in his orchard at Monticello. Throughout the history of America, the pawpaw has been memorialized in songs and poems.

The pawpaw grows as a small shrubby understory tree. These deciduous, slow-growing trees generally mature at 15 to 25 feet tall with an 8 to 10 feet spread. Pawpaw goes by several common names such as Michigan Banana, Poor Man’s Banana, and False Banana. These names are derived from the fact that the fruit looks like a stubby, kidney-shaped banana 3 to 5 inches long and nearly 2 inches thick. It is the largest edible native fruit at 1/3 to 1 pound each. The fruit starts off pale green and as it ripens it will turn yellow with brown or black splotches. The egg custard-like, yellow pulp is interspersed with large flat brown or black seeds. The fruit ripen in late summer or early fall. These long-lived trees have 6 to 12 inch dark-green, elongated toothless leaves which are held in a drooping fashion. Their unusual dull purple, foul-smelling flowers have 6 petals and hang upside down.

The custard-like pulp of the pawpaw has the consistency of mashed bananas. It tastes like banana and caramel with a hint of citrus. The fresh fruit are eaten raw, used to replace bananas in recipes like banana nut bread, and to make jam. Some people like to blend the fruit with yogurt and cinnamon or eat it over ice cream. The unripe seed, fruit, and peel can be mildly toxic to some people, though sensitivity varies. Also, a few people are put off by the odd flavor and prefer the pulp cooked.

The pawpaw is hardy in zones 5 through 8 and range from the Great Lakes region to the Gulf Coastal plains and eastward to the coast. Pawpaw trees grow in the wild along riverbanks, in bottomlands, and in forests usually as a shaded secondary growth tree under taller trees. They need shade and protection from the wind the first three years of growth but produce more fruit when cultivated in full sun. They prefer deep, rich, well-drained, moist soil with a pH of 5.5 to 7. They tolerate many soil types but not waterlogged soil. Good drainage is the key to success.

Early spring or fall is the best time to plant. Plant your pawpaw tree in deeply tilled soil since they have a deep taproot and space them 8 feet apart. Container grown trees have a better survival rate than bare root trees. Keep the young trees shaded and consistently moist, but not overly wet throughout the growing season; this will reduce the possibility of transplant shock. It’s best to protect young transplants and seedlings from direct sun until they are three years old. Apply a balanced fertilizer such as a 20-20-20 liquid fertilizer every other week until early fall; this will aid in establishing the new young pawpaw trees.

Pawpaw trees are usually propagated by seed or by using budding and grafting techniques, as seeds are slow to germinate. They require a period of stratification for 70 to 100 days in a cold, moist environment. This can be accomplished by sowing the seed in late fall and letting them overwinter in the soil where they will germinate in July or August the next year. Another method is to place the seed in moist sphagnum moss stored in a plastic baggie in a refrigerator at 32 to 40 degrees Fahrenheit. Once their cold requirement is reached and they are fully stratified, the seeds can be planted. Sow the seeds in 14” to 18” deep tree pots to accommodate the long taproot. Use a well-drained soil mix and plant the seeds one inch deep. If a temperature range of 75 to 85 degrees Fahrenheit is maintained, the seeds will germinate in 2 to 3 weeks and shoots will start to appear in about 2 months. These saplings will start to produce fruit in about five to eight years.

Since cuttings have proven to be almost impossible to root, the pawpaw is generally vegetatively propagated by techniques such as chip budding, whip-and-tongue grafts, and cleft grafts. Grafted trees typically bear fruit in about 3 years.

Pawpaws are not self-fertile and are also self-incompatible, so they require pollination from a genetically different tree. Flies and beetles are the primary pollinators, but are not always dependable. So, it may be necessary to hand-pollinate your plants in order to ensure good fruit set. This can be accomplished by using a small artist’s paint brush to dab fresh pollen from the anthers of one plant to the stigma of another plant. This method is so efficient it may cause the plant to produce too much fruit. Thinning the fruit may be necessary to keep from stressing the overall health of the tree and causing limbs to break.

In their native habitat, the pawpaw is rarely troubled by any insect pests since the leaves and bark have natural insecticidal properties. The worst two insects that can cause problems are the pawpaw peduncle borer larvae and the zebra swallowtail butterfly larvae. Raccoons, deer, possums, bears, and squirrels will eat the ripe fruit and can compete for the harvest.

The fruit of the pawpaw is dark butter yellow with brown or black streaks and noticeably fragrant when ripe. It comes off easily with a quick twist or by gently shaking the tree. Unfortunately, the fruit does not store well, that is why it has never become a popular commercial food. Although it can be stored in the refrigerator for up to a week, freezing the pulp usually changes its flavor.

There are a number of new varieties that are superior to the native trees. Varieties such as ‘Sunflower’, ‘Taylor’, ‘Sweet Alice’ and ‘Davis’ are preforming well in orchards across many parts of the country.


References and External Links:

  • Pawpaw Planting Guide, S.C. Jones & R.N. Peterson et al, Kentucky State University Cooperative Extension Program Bulletin, 1990
  • Miracle-Gro Complete Guide to Vegetables, Fruits & Herbs, D. Schrock, Meredith Publishing Group, 2008
  • Vegetables, Herbs & Fruit: An Illustrated Encyclopedia, M. Biggs, J. McVicar & B. Flowerdew, Firefly, 2013
  • Edible and Medicinal Plants, S. Brill, Harper, 1994


August 11, 2015
by jhtalmadge
0 comments

Prickly Pear Cactus

 prickly pear

A prickly pear cactus with nearly ripe fruit.


prickly pear2

A newly rooted prickly pear pad cutting (3 weeks old).


prickly pear3

A young spineless prickly pear cactus.


Prickly Pear Cactus

(Opuntia spp.)

Although these plants look like living barbed wire and seem to scream “don’t touch”, they have been used in a multitude of ways for thousands of years. The stems, flowers, fruit, seeds, and sap of the prickly pear cactus have been used as foods, medicines and even tools.

According to the USDA, there are 59 different species in the genus Opuntia which is in the cactus family.  Prickly pear is not the name of just a single species but of many varieties. The most common cultivars are Opuntia humifusa (Eastern Prickly Pear), Opuntia phaeacantha (Western Prickly Pear), Opuntia engelmannii var. lindeimeri (Engelmann Prickly Pear), Opuntia basilaris (Beaver Tail Cactus) and Opuntia ficus-indica (Indian Fig Cactus).

These thicket forming cacti are native to all the Americas and range from British Columbia south to California and, in the East, from New England to Florida on southward to Mexico and South America. They have also been introduced to other parts of the globe from the Outback of Australia to the lava beds of Sicily. These small-to medium-sized evergreen shrubs prefer rocky, dry, well-aerated sandy soils with a pH of 5.5 to 7 and occur mainly in warm arid conditions but can adapt in many other climates (zones 3 to 11), soil types, and moisture levels.

Prickly pear cactus has done away with normal leaves in order to retain water. They have managed this by evolving highly modified flattened stem sections into pads or phylloclades and leaves into large spines, as well as smaller fuzzy tufts called glochids. The plants vary in height from 1 to 7 feet and spread as wide as 8 feet. In general, the thick paddle-shaped, green to blue-green pads range from 4 inches to 11 inches in length and as wide as 9 inches. The 3-1/2 inch bowl-shaped flowers are red or yellow fading to orange and appear on the upper tier of pads in early summer (May to July). Each flower yields a barrel-shaped cactus pear, covered in scattered tufts of glochides, that varies in size from 1 to 3 inches by ¾ to 1 inch across and are dull red to purple. The thin-skinned fruit is filled with red juicy pulp with many flat circular seeds.

The Indian Fig (Opuntia ficus-indica) is the most used culinary variety, but many other; are also edible. The young tender pads have an acidic, sweet citrus-like flavor.  They can be harvested in spring to make a mild mucilaginous vegetable when stewed like okra, cut onto strips and used like green beans in salads, or the whole pad can be fried like a steak. The pads may also be boiled, roasted, broiled, stir-fried, deep-fried, or pickled.

To harvest the pads or nopales, as they are known in the southwest, you need to employ thick leather work gloves, tongs or cardboard strips, and a sharp knife. The thorns and hair-like glochides have to be removed by burning them off with a torch or by rubbing them off with a damp towel. Otherwise, these bristles can cause strong skin or digestive irritation.

The cactus pear (or tuna in Spanish) can be harvested in a similar way to picking the pads.  Prepare the fruit by cutting off each end and then making a quarter inch length-wise slit. Then, run your thumb into the slit and peel off the thick rind. The red to yellow pulp can be used to make juices, syrups, sauces, teas, candies, pickles, and preserves. It has a sweet flavor that is a cross between watermelon, blackberry, and bubble gum. The fermented juice is also used to make a Mexican alcoholic beverage called colonche. The many black seeds in each fruit can be dried and ground into flour or used as a soup thickener.

Not only are these plants a good food source, they are very nutritious with high levels of amino acids, magnesium, iron, calcium, selenium, antioxidants, beta carotene, fiber, as well as vitamins B and C. Prickly pear cactus have been used as a traditional Mexican remedy for type 2 diabetes since they can lower blood sugar. They can be used to treat ulcers, colitis, sunburn and insect bites since they possess the ability to reduce swelling.  These plants may also be beneficial in fighting viral infections, decreasing cholesterol levels, preventing hangovers, and as a hair care product.

These versatile plants also have other surprising uses such as fodder for cattle, as a dispersant of oil spills, making earthen plaster, and as an additive in candle making.  As a landscape plant, they can be used as an evergreen screen or a security wall. In a survival situation the pads can be used as a makeshift canteen and the spines can be used to make needles and fish hooks.

The self-fertile prickly pear cactus can be propagated from seed, but the easiest method is to plant single stem sections or pads. Simply cut off a pad and let it callus in a warm dry place for several days. Plant the cutting by burying one-third of the lower end of the pad in a 1- or 2- gallon pot. Use a cactus soil mix or a commercial potting soil with perlite added for good drainage. Place stones around the base of the pad to hold it upright. Place the young plant in a sunny location, but out of hot direct sun. During the summer, rooting will occur in 5 to 10 days, but during the winter it may take up to 3 months. The new cutting won’t need to be transplanted for up to a year. When ultimately planting your young cactus, give it plenty of space to grow in a sunny location.

These extremely hardy plants are seldom affected by pest or disease problems. But, they may be troubled by mealy bugs, slugs, and snails. Rarely, these cacti can contract maladies such as anthracnose, sun scald, and various rots. But, all in all, they are tough, long-lived, highly useful plants.


References and External Links:

  • Eat Your Yard! N.K. Chase, Gibbs Smith, 2010
  • Field Guide to Edible Plants B. Angier, Stackpole Books, 2008
  • Peterson Field Guide – Edible Wild Plants, L.A. Peterson, Houghton Mifflin, 1977
  • “On-line Guide to the Positive Identification of Members of the Cactus Family.” On-line Guide to the Positive Identification of Members of the Cactus Family. Web.  <http://cactiguide.com/>.
  • “Prickly Pear Cactus: Uses and Risks.” WebMD. WebMD. <http://www.webmd.com/vitamins-and-supplements/prickly-pear-cactus-uses-and-risks?>.
  • www.ucdavis.edu/pub/brochures/Pricklypear/


July 12, 2015
by jhtalmadge
0 comments

Elderberry – Sambucus canadensis

elderberry_container

An Elderberry plant in a container.


elderberry_close_up

A mature Elderberry bush along a fence.


elderberry_green_berries_fence

An Elderberry with unripe green berries.


Elderberry

(Sambucus canadensis)

The first thing I think of when I hear the word Elderberry is the song Elderberry Wine by Elton John. These plants have been mentioned in music and folklore for generations by many cultures from Newfoundland to the West Indies. In folklore, it is believed that evil spirits, witches and lightning can be warded off by planting an elderberry at the entrance to a garden or near a house. These accolades through the centuries are well deserved since these plants have so many uses. Their berries and flowers can be used in both medicinal and culinary applications plus their wood can be crafted into various items.

These large deciduous shrubs or small trees range in size from 6’ to 20’ tall with a spread of 5’ to 6’. They have opposite, pinnately compound leaves of 5 to 11 leaflets, and each finely serrated leaflet is 3 to 5 inches long, with the veins running to the tips of the serrations. In early summer, the elder tree bears finely branched, creamy-white, pleasantly scented, tiny flowers in flat-topped or slightly curved clusters (panicles) that are 3” to 10” in diameter. The glossy 1/8 inch purple-black berries ripen in mid-summer to early fall. The average mature (3 to 5 years old) plant yields 12 to 15 pounds of berries. The woody stems have smooth grey bark with intermittent corky bumps and the branches are filled with white pith that looks like Styrofoam.

The leaves, roots, bark, seeds and green berries are toxic due to containing glycosides that produce cyanide when digested. Only the ripe berries and flowers are edible. Be very careful when foraging for these plants in the wild since they have a couple of poisonous look-a-likes such as Water Hemlock and Hercules’-club. Always check with a local foraging or plant identification expert before eating wild plants.

The common elderberry has been prized for millennia for its many uses. The flowers can be battered and sautéed as fritters or added to pancakes to give them a light delicious flavor. Flowers can also be brewed into a healthful tea. Many people find the raw purple-black berries to be too tart to be appetizing, and since they can cause an upset stomach, they should be eaten sparingly. Once cooked, the berries ­­­­make wonderful treats such as muffins and pies. The berries can also be made into syrups, juices, jellies, jams, dyes, and, of course, wine.

The pithy centers of the stems of the elderberry can be hallowed out to make flutes, whistles, straws and stiles for harvesting maple syrup. The wood must be dried and cured first otherwise it will still be toxic.

The flowers and berries have been used medicinally for a myriad of ailments since the time of the early Native Americans. They are high in antioxidants as well as excellent sources of vitamins A, B, and C.  Syrup made from the berries can be used as a remedy for colds, flus, bronchial infections, asthma, and coughs. Elderberry infusions have a diaphoretic effect and are good for cooling a fever. Elder flower infusions when applied externally can heal rashes, swelling, burns, sunburns, and other skin inflammations such as eczema. Elderberries can be used as immunity boosters for the elderly and the immuno-impaired. There is now credible scientific research that proves the elderberry’s antiviral disease fighting properties. Studies show that elderberry syrup shortens the duration and severity of viral infections. Also, elderberries made into a wine or syrup mixed into a wine can help relieve neuralgia and arthritis. Thus, it is no wonder that the elderberry has been called “the people’s medicine chest.”

Recently, as my family and I were riding in the car, I was pointing out the many elderberry bushes that are in full bloom along the roadside in late June and early July. Elderberries can be found in the wild areas along the roadsides near creeks or low moist areas. So, plant your elderberries in a sunny to partial shade, well-drained moist location no more than 6’ apart. These shrubs have a shallow fibrous root system so they are sensitive to drought and deep cultivation. Elderberries are very cold hardy and live in Zones 3 to 11. They prefer a pH of 5.5 to 6.5 but will tolerate most soils as long as the soil doesn’t get too dry. Since they are only partially self-fertile it is beneficial to grow two or more cultivars to ensure cross-pollination, as this will give you a much better fruit set.

Ammonium nitrate is used for fertilizing elderberries in a commercial setting, but for homeowners it is safer to use 10-10-10 NPK and compost. In early spring, apply ½ pound of 10-10-10 fertilizer for each year of the plant’s age. Shrubs that are 8 years or older, give them no more than 4 pounds of 10-10-10 fertilizer per year.

Pruning is necessary because these shrubs are so fast growing and can become rangy. The most important reason to prune is to increase berry production. Two-year-old canes with lateral branches are the most productive and canes become less fruitful after about their third year. So, it is helpful to prune out older trunks, dead or weak canes during dormancy.

Elderberries are rarely hindered by pests and diseases. However, birds can be a problem, so use bird netting and scare devices such as plastic owls close to harvest time. Some diseases such as tomato ring spot, mildew, and stem cankers can affect these plants, but can be prevented by good sanitation of old affected leaves and weed control. Unfortunately, there are no insecticides listed for elderberries.

When harvesting the ripe berries, you can simply comb your fingers through the berry clusters to knock the berries off into a container; however, there is an easier method that will save the time of plucking out the stems and branches later. The trick is to cut off full clusters of berries and freeze them. Once frozen, you can give the clusters a good shake and only the berries will fall off. Be careful to pick out any green berries since they are toxic. Other than the aforementioned preparations such as pies, jams, jellies, and wines, your harvest can be preserved by drying the berries which mellows their flavor. The syrup or the whole berries can also be frozen to preserve your harvest.

There a number of recommended varieties such as ‘Adam’s #1’, ‘Adam’s #2’, ‘John’s’, ‘York’, ‘Nova’, ‘Scotia’, ‘Sutherland Gold’ (a yellow-leafed ornamental) and ‘Black Lace’ ( a black-leafed ornamental by Proven Winners).

References and External Links:

  • The Berry Companion L. Bowling, Timber Press, 2000
  • Identifying and Harvesting Edible and Medicinal Plants Brill, Harper, 1994
  • The New Herb Bible by E. Mindell, PhD, Fireside, 2000
  • “Eat The Weeds and Other Things, Too.” Green Deane, LLC. www.eattheweeds.com


July 12, 2015
by jhtalmadge
0 comments

Bitter Melon – a delicacy of Southeast Asia and the Philippines

bittermelon_vine

A Bitter Melon vine along a fence.


bittermelon_ripening

A ripening Bitter Melon fruit.


bittermelon_close_up

A nearly ripe Bitter Melon.


Bitter Melon

Momordica charantia

The fruit of the bitter melon, with all its warts and ridges, looks like the mutant cross between a cucumber and an alligator. This member of the squash family, Cucurbitaceae, goes by a number of different names such as bitter gourd, balsam pear, African cucumber, goya and karela. The strange looking fruit of this herbaceous annual vine has been a staple food for thousands of years in Asia, India and Africa. Now, it is beginning to be seen more and more in western gardens. Bitter melon is thought to be indigenous to southern China and eastern India where it was first domesticated.

It is a rampant growing vine with 5- or 6-lobed leaves and vanilla-scented yellow flowers that when pollinated form very bitter warty, oblong fruit. Bitter melon vines can grow up to 13- to 16-feet long if properly supported.

The young fruit are prized in Asian and Indian cooking despite their bitter flavor. The immature melons are picked at 4 to 6 inches and used in many different recipes. They can be stuffed with shrimp or pork and steamed, sliced in soups and stir-fries, or pickled to name a few. Because of their unusual bitter flavor, it is best to pair them with other strong flavored foods such as Chinese black beans, chili peppers, garlic, or coconut milk to counteract the bitter taste.

In order to reduce the bitterness of the fruit, some home cooks peel them with a carrot peeler or scrape the warty skin off with a knife, then make a length-wise cut in the fruit to remove the seeds and pulp. Sea salt is then rubbed inside and outside. Let the fruit weep for 2 hours then squeeze out the juice, this will decrease most of the bitterness. An alternative method is to par-boil them, but this changes their consistency. The flesh should be a watery, crunchy texture much like cucumbers or peppers.

Bitter melons are a good source of beta-carotene, iron, potassium, calcium, phosphorous, vitamins C, B1, B2, and B3. With their antiviral and antibacterial properties, they are used in many medicinal preparations such as juices, teas, extracts, and bathes. The fruit is consumed to treat malaria since they contain quinine. Historically, they are used to treat type 2 diabetes since they enable the uptake of glucose and are even recommended by the National Diabetes Association. The roots are sometimes used to heal hemorrhoids. The leaves are used in poultices for skin irritations like acne, burns, scabies, ringworm, and measles. Bitter melon has been proven by western scientists to inhibit tumor growth and HIV-1 infections. They are also thought to be a remedy for rheumatism, gout, and gastrointestinal problems.

These plants prefer a well-drained soil with a pH of 5.5 to 6.7. Like most melons, they need even soil moisture in a sunny location or planted in light shade with the vines extending out into full sun. Bitter melons thrive when given at least 6 hours of sun in a hot and humid climate.

Plant the vines at least 4 feet apart so they will have space to grow. Give the young plants plenty support by planting them along a fence or next to an arbor or trellis. Trellising reduces disease problems by increasing air circulation and makes the fruit easier to harvest. Bitter melon vines are prone to rot if in contact with the moist ground, so mulch beneath them with 2 to 3 inches of wheat straw. Use a slow release fertilizer such as 14-14-14 at the time of planting or a mixture of bone meal and composted manure. About midway through the growing season, fertilize with a liquid fertilizer and then again at about 60 days after planting. This fertilization program along with lots of water will keep the vines growing vigorously.

In warmer areas, you can direct sow bitter melon seeds into hills 3-4 feet apart after the soil temperature has reached 64-degrees F. Plant 8 to 10 seeds per hill and cover them with 1 inch of soil. Keep well-watered. Then once the seeds are germinated with 2 to 3 leaves, thin each hill to 4 plants each.

For better germination in cooler climates, pre-sprout seed by soaking in water for 24 hours. Then wrap the seed in a warm, damp paper towel, put them in a plastic bag and keep at 80- to 84-degrees F. Once partially germinated, plant them in deep plug trays or 4 inch pots. Plant-out the young plants in a prepared bed of well-drained soil once they are rooted to the bottom of the plugs or pots.

An alternative method of propagation is by rooted cuttings. Take 10- to 12-inch cuttings from an established vine. Place the cuttings in water for 10 to 15 days until rooted. Then plant in pots as an intermediary step before planting them in the field.

Pollination can be accomplished by hand if there are not enough honeybees or other pollinators in your area. Since bitter melon vines bare both male and female flowers, take a male flower, rollback the petals and dab pollen on each of the female flower’s stigma. The female flowers can be identified by a swelling like a tiny melon behind the bloom. Commercial growers bring in hives of honeybees each spring to pollinate their crop of bitter melons.

The first fruit usually appear about 2 months after sowing. Pick the fruit when they are 4- to 6-inches long, otherwise the older fruit tend to be fibrous and more intensely flavored. To encourage new fruit growth and prevent over-ripening, try to pick fruit every 2 to 3 days. After harvesting, the fruit will keep in a cool dark place for 3 to 4 days. Stored in a paper or plastic bag in the refrigerator crisper drawer they will last up to 4 weeks. The fruit can also be sliced and dried in a food dehydrator then used for months.

Although bitter melons are relatively hardy, they can be plagued by many of the same maladies as other members of the Cucurbit family. They are susceptible to various rots and fungal diseases such as powdery mildew and downy mildew. These vines are also prone to watermelon mosaic virus. Insects such as fruit flies, spotted cucumber beetles, striped cucumber beetles, and spider mites can be a problem too. Ask your county extension agent or local garden center expert for cultural practices or contact sprays to solve any problems you might encounter.

Traditional varieties of bitter melon are named after their physical attributes like ‘Indian Long Green’, ‘Green Skin’ and ‘Large Top’. Some of the new hybrids such as ‘Indian Long White’ are better suited to growing in more temperate climates. While other new hybrids, such as ‘Mara Long’, are improvements on older varieties.

References & External Links:

  • Oriental Vegetables- The Complete Guide for the Gardening Cook, J. Larkcom, Kodasha, 2008
  • Vegetables,Herbs & Fruits – An Illustrated Encyclopedia, M. Biggs, J. McVicar & B. Flowerdew, Firefly Book, 2013
  • “Growing Bitter Melons – Bonnie Plants.” Bonnie Plants. <http://www.bonnieplants.com/growing/growing -bitter- melon/>.
  • “Better Living through Bitter Melon.” <http://www.bittermelon.org/cultivation.html/>.


June 27, 2015
by jhtalmadge
0 comments

It’s blueberry picking time again.

IMG_20150620_104915757   IMG_0038

IMG_0040

Blueberries are gorgeous with their bell-shaped white flowers, dusty-blue fruit and reddish fall foliage. They are probably the easiest of all fruit to start growing. Blueberries are well-adapted North American natives and have virtually no disease or pest problems as long as they are planted in a suitable location. The only pests commonly encountered are birds. So, bird netting is a must near harvest time. Just be vigilant and watch for snakes getting tangled in the netting.

Blueberries will produce berries the first year from one-gallon or three-gallon size plants. Some experts recommend pulling the berries off for the first three or four years to increase the plant’s vigor.  But, I disagree with that procedure. Why not eat berries as soon as possible?

Plant blueberries from containers in the late spring or in the early fall. Pick a sunny or partial shade location that has a light well-drained soil with a pH of 4.0 to 5.5. Get a soil test done through your local garden center or county extension agent. You may need to adjust the pH with a soil acidifier such as Aluminum sulfate, peat moss or rotted sawdust. If you are doing a multiple planting space the plants 4’ to 6’ apart. Use a closer spacing of 3’ apart if you are making an edible hedge. Plant the container plants to the same depth as the soil line was in the nursery container. Keep the young plants continuously moist before planting and for the first few days after planting. Try to keep the top foot of soil moist by watering weekly after the initial few days. Add a 6” layer of mulch such as ground pine bark, composted leaves or pine straw around the new plants to maintain soil moisture and prevent weeds. Fertilize with an acid-loving plant fertilizer with a low nitrogen analysis such as an azalea fertilizer when the plants are blooming.

After planting, pruning should not be necessary the first 2 to 3 years. After 3 years, start pruning out some of the older canes yearly to renew the plant’s energy and increase fruit production. It is best to prune blueberries in late winter or early spring at the end of dormancy. Also, staking or cages are not necessary for these sturdy shrubs.

Blueberries will produce a crop with just one self-pollinating cultivar but it is best to have at least two cultivars for cross-pollination. This will ensure that you will have twice as many berries per plant versus just planting one cultivar. Also, by planting multiple varieties you can extend your harvest season from June to mid-September. Try planting an early season variety, a midseason variety and a late season variety to extend your harvest time.

When harvesting blueberries, you should look for the dark blue berries that have turned from green and reddish purple to dark blue in each cluster. The area around the stem (pedicel) is the last to ripen. So, check that each berry is ripe all the way around.

Whole clusters of berries should not be pulled off but instead individual ripe berries should be gingerly rolled off between your thumb and index finger. This will decrease the amount of unripe berries being accidentally harvested. Take care to check underneath each leaf and branch for hiding ripe berries. If you have more than 4 or 5 plants to pick, purchase a harvesting basket with a strap you can wear around your waist or neck to simplify picking.

The Rabbiteye varieties (Vaccinium ashei) such as ‘Tifblue’ and ‘Climax’ produce best in Zones 7 and 8. Southern Highbush hybrids (V. corymbosum hybrids) such as ‘Cape Fear’ and ‘Ozarkblue’ perform best in southern California and Florida. The Northern Highbush types (V. corymbosum) such as ‘Blueray’ and ‘Elliott’ grow best in the Northeast, Great Lakes region and the Northwest. The Half-high hybrids (V. corymbosum crossed with V. angustifolium) such as ‘Northland’ and ‘St. Cloud’ do well in regions where it is very cold like Minnesota. Lowbush varieties (V. angustifolium) such as ‘Tophat’ and ‘Burgundy’ grow best in the Northeastern region of the United States.